Equipment Guide

Commercial Ice Machines

This guide will serve everything you need to know about buying, installing, and maintaining a commercial ice machine. From choosing the capacity to daily upkeep, this guide will ensure you make the right decisions going forward. 

Section 1: How To Choose The Right Ice Machine

Selecting the correct commercial ice machine is a balance between your current peak demand and future growth. A machine that is too small will lead to “ice starvation” during busy shifts, while one that is too large will be a waste of energy and water.

1. Calculate Your Daily Demand

Before purchasing, you must calculate your Peak 24-Hour Yield. To put simply it’s how much ice is used per-person on average depending on industry.

  • Restaurants: 1.5 lbs of ice per person, per day.

  • Hotels: 3 lbs of ice per guest room, per day.

  • Cocktail Bars: 3 lbs of ice per seat.

Pro Tip: Always add a 20% safety margin to your final calculation. This ensures you have enough capacity to handle summer heatwaves or unexpected rushes.

2. Choose Your Ice Type

The “shape” of your ice affects everything from your beverage costs to your presentation:

  • Cube Ice (Full or Half): The industry standard for drinks and bagging. It melts slowly and is highly versatile.

  • Nugget Ice: Often called “chewable ice” or “Sonic ice.” This is a massive hit in the healthcare sector and for specialty beverages because it absorbs the flavor of the drink.

  • Flake Ice: Essential for seafood displays, salad bars, and medical applications where the ice needs to mold around products without bruising them.

3. Consider the Footprint

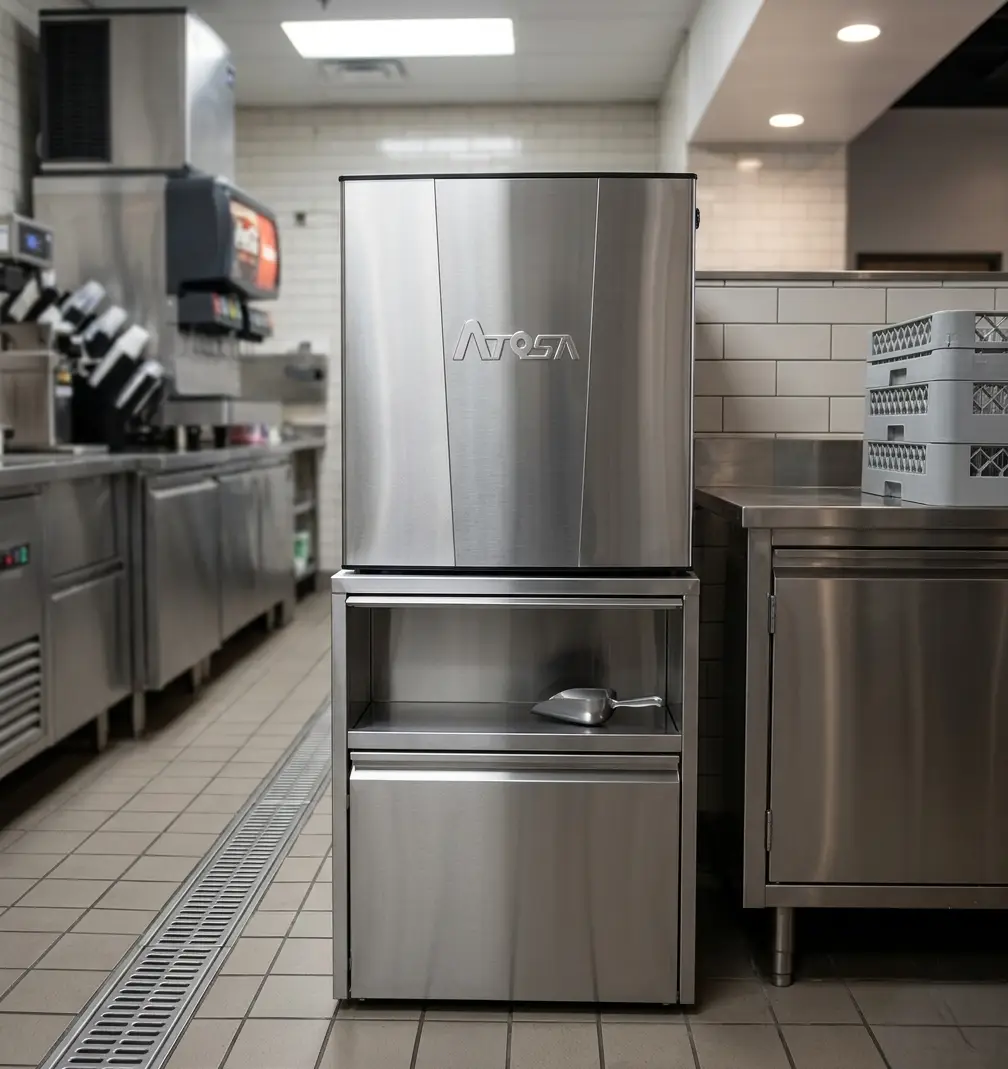
Ensure your location has proper ventilation and floor drainage. Undercounter models are perfect for space-saving at bars, while Modular units offer higher output but require a separate storage bin.

Section 2: Installation Requirements

Ensuring your facility is ready for a commercial ice machine is critical to prevent mid-installation delays and equipment failure. A proper setup involves four main pillars: water, drainage, ventilation, and power.

1. Water & Drainage Basics

Every ice machine requires a dedicated potable water line with an accessible shut-off valve.

  • The Drain: You must have a floor drain within 6 feet of the unit.

  • The Air Gap: Local plumbing codes typically require an "air gap" between the machine's drain pipe and the floor drain to prevent backflow contamination.

2. Ventilation & Clearance

The #1 cause of ice machine failure is overheating due to poor airflow.

  • Standard Clearance: Aim for a minimum of 6 inches of space on the sides and back of the unit.

  • Air-Cooled vs. Water-Cooled: * Air-Cooled: These are the most common and cost-effective but require significant clearance to "breathe."

    • Water-Cooled: Ideal for tight spaces or hot kitchens where ventilation is impossible, though they will increase your monthly water utility costs.

3. Electrical Specifications

Electrical requirements are not "one size fits all."

  • Small to Medium Units: Most standard undercounter or modular units run on a 115V / 20A circuit.

  • Large Capacity Units: High-yield machines often require a 208–230V connection.

  • Pro Tip: Always check the NEMA plug configuration on the spec sheet before finalizing your purchase to ensure it matches your existing outlets.

4. Water Filtration

To protect your investment, we highly recommend an inline water filter. This prevents scale buildup, improves the taste of the ice, and is often a requirement to maintain the manufacturer's warranty.

Section 3: How to Operate Your Commercial Ice Machine

While each manufacturer has specific nuances, most commercial units ranging from undercounter models to large modular heads tend to follow a standard operational workflow. Following these steps ensures high-quality ice production and equipment longevity.

1. Initial Start-Up & Priming

Before turning on after installation or after a long period of downtime, the machine needs to be stabilized:

  • Sanitize the Bin: Wipe down the interior of the storage bin with a food-safe sanitizer before starting production.

  • Power & Water: Ensure the water supply valve is fully open and the unit is plugged into its dedicated outlet.

  • The "Wash" Cycle: Many units have a toggle switch for "Wash/Service" and "Ice." Run a quick wash cycle first to clear any dust or debris from the evaporator plate.

2. Engaging the Ice Cycle

Flip the main switch to the "Ice" position. You will typically hear the following sequence:

  • Fan/Compressor Kick-on: The machine will begin cooling the evaporator plate.

  • Water Fill: The water trough will fill, and the pump will begin circulating water over the freezing surface.

  • The Harvest: Once the ice reaches the correct thickness, the machine enters "Harvest Mode." It warms the plate slightly, allowing the ice cubes or flakes to drop into the storage bin.

3. Best Practices for Daily Use

To maintain a high "Peak 24-Hour Yield" and food safety standards:

  • The "First Drop" Rule: If the machine has been sitting idle for a long time, discard the first two harvests of ice to ensure the purest quality.

  • Keep the Scoop Out: Never leave the ice scoop inside the bin. Store it in a dedicated, sanitized holder outside the machine to prevent bacterial contamination.

  • Level the Ice: Occasionally use the scoop to level the mountain of ice forming under the drop zone. If the ice piles too high, it can trigger the "Bin Full" sensor and shut the machine down prematurely.

4. Monitoring the Sensors

Pay attention to the indicator lights on the front panel. Most modern units will alert you if:

  • Water is low: The machine won't start a cycle without sufficient pressure.

  • High Temp: If the room is too hot or the filters are clogged, the machine will shut down to protect the compressor.